
Step One — Install Digispark Drivers
- Go to the Digispark repo at https://github.com/digistump/digistumparduino/releases
- Download Digistump.Drivers.zip for your operating system
- Extract and run DPinst.exe (x86) or DPinst64.exe (x64)
Step Two — Download and Install the Arduino IDE
- Download from https://www.arduino.cc/en/software
- Install
Step Three — Configure Arduino IDE for the Digispark
Add the Digispark board manager index
Within the Arduino IDE, navigate to:
- File > Preferences > Additional boards manager URLs
- Paste:
http://digistump.com/package_digistump_index.json - Click OK
Install the Digispark boards
Within the Arduino IDE, navigate to:
- Tools > Boards > Board Manager
- Filter for and select
Digistump AVR Boards by Digistumpand click install
Set Digispark as default
Within the Arduino IDE, navigate to and select:
- Tools > Boards > Digistump AVR Board > Digispark (Default — 16.5mhz)
Step Four — Create Your First Rubber Ducky Script
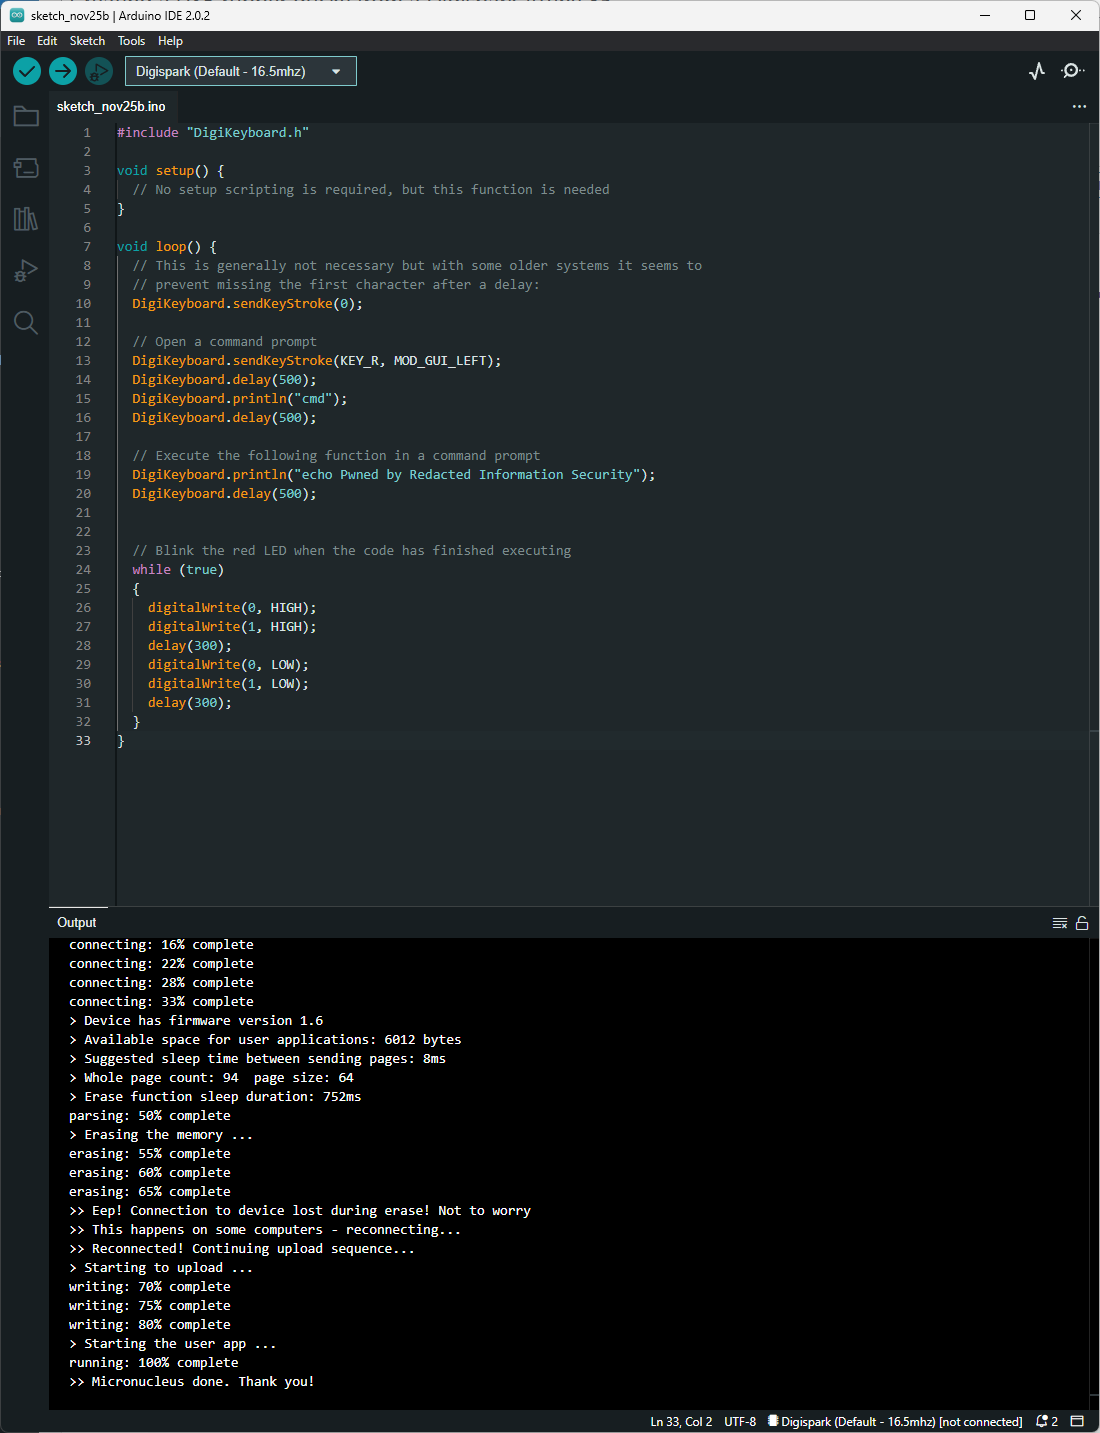
Create a new sketch with File > New sketch, then paste the following code:
#include "DigiKeyboard.h"
void setup() {
  // No setup scripting is required, but this function is needed
}
void loop() {
  // This is generally not necessary but with some older systems it seems to
  // prevent missing the first character after a delay:
  DigiKeyboard.sendKeyStroke(0);

  // Open a command prompt
  DigiKeyboard.sendKeyStroke(KEY_R, MOD_GUI_LEFT);
  DigiKeyboard.delay(500);
  DigiKeyboard.println("cmd");
  DigiKeyboard.delay(500);
  // Execute the following function in a command prompt
  DigiKeyboard.println("echo Pwned by Redacted Information Security");
  DigiKeyboard.delay(500);

  // Blink the red LED when the code has finished executing
  while (true)
  {
    digitalWrite(0, HIGH);
    digitalWrite(1, HIGH);
    delay(300);
    digitalWrite(0, LOW);
    digitalWrite(1, LOW);
    delay(300);
  }
}
Upload and Test
- Click on 'Verify' (the tick icon) to ensure that the code will compile correctly.
- Click on 'Upload' (the arrow icon) and plug in the Digispark when invited to.
- Once the code has uploaded, you're done! Have fun playing with the code.